Portraits

1-2-3 attempt
1-2-2

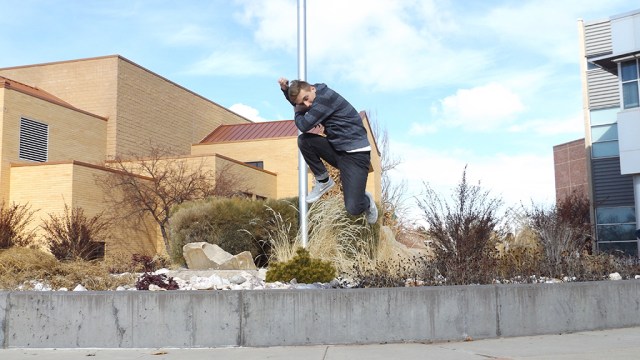
I’ve never been great at taking portraits of people, especially when models aren’t completely comfortable being photographed but, I did enjoy going through some of these photos and noticing small things that attract an eye to a photo of someone they’ve never met. Unfortunately this session was rushed and i couldn’t accomplish everything that I set out to do. Hopefully in the future I can try something like this again and find success.

This is Audra, shes beautiful. below is the original photo. taken out was a bra strap and some background distractions that took away from her beauty. We used to date, I know go me right? while we may no longer be dating she’s just as amazing as ever and I wish her the best.

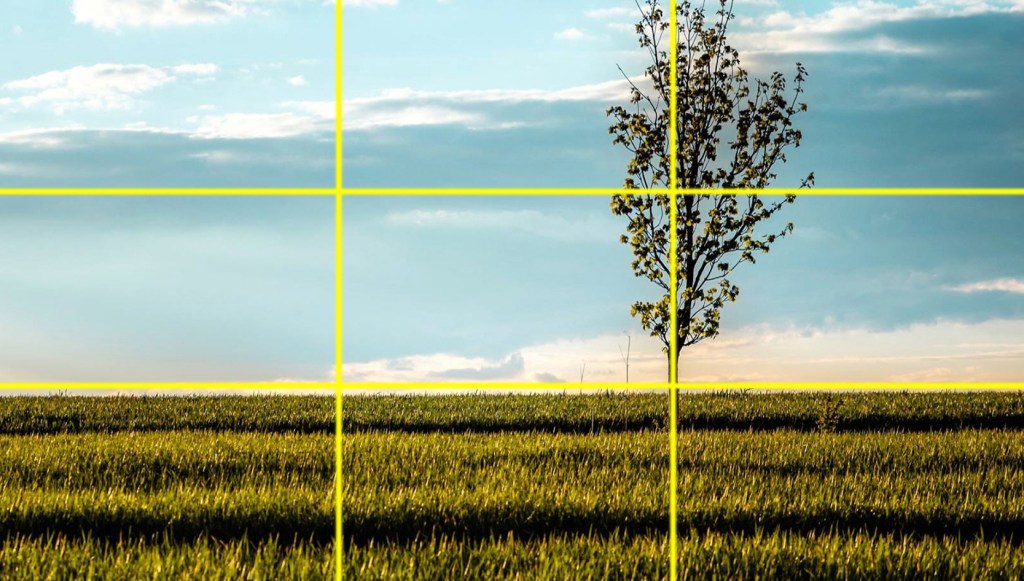
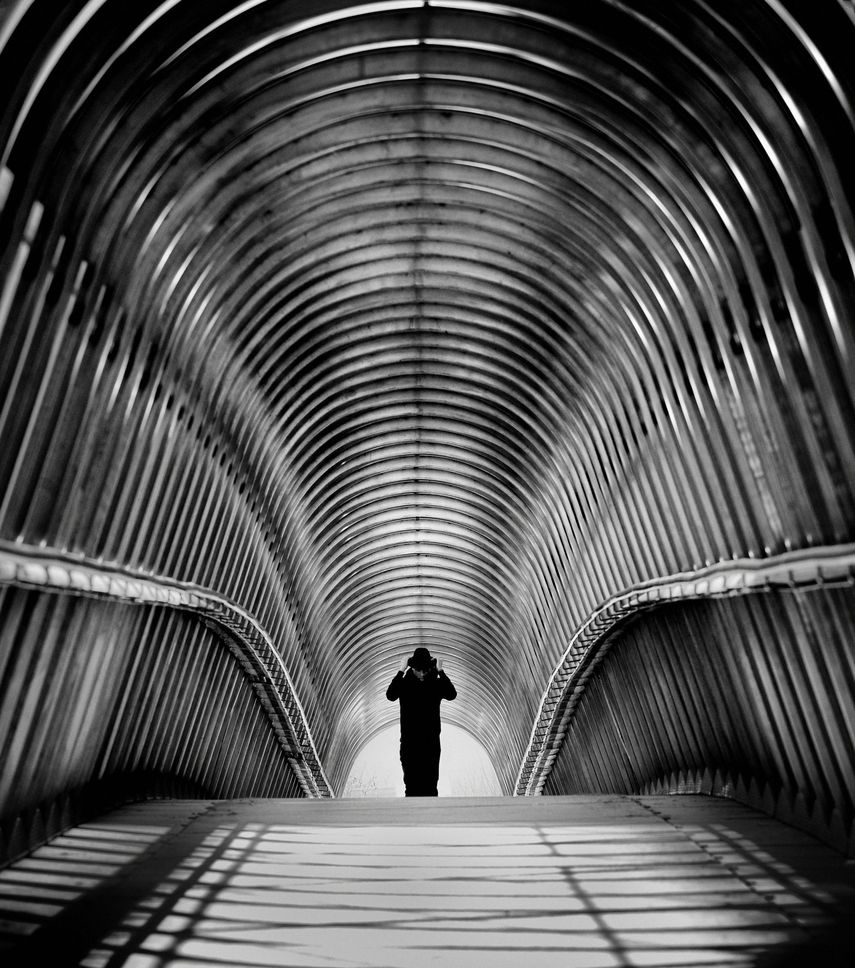
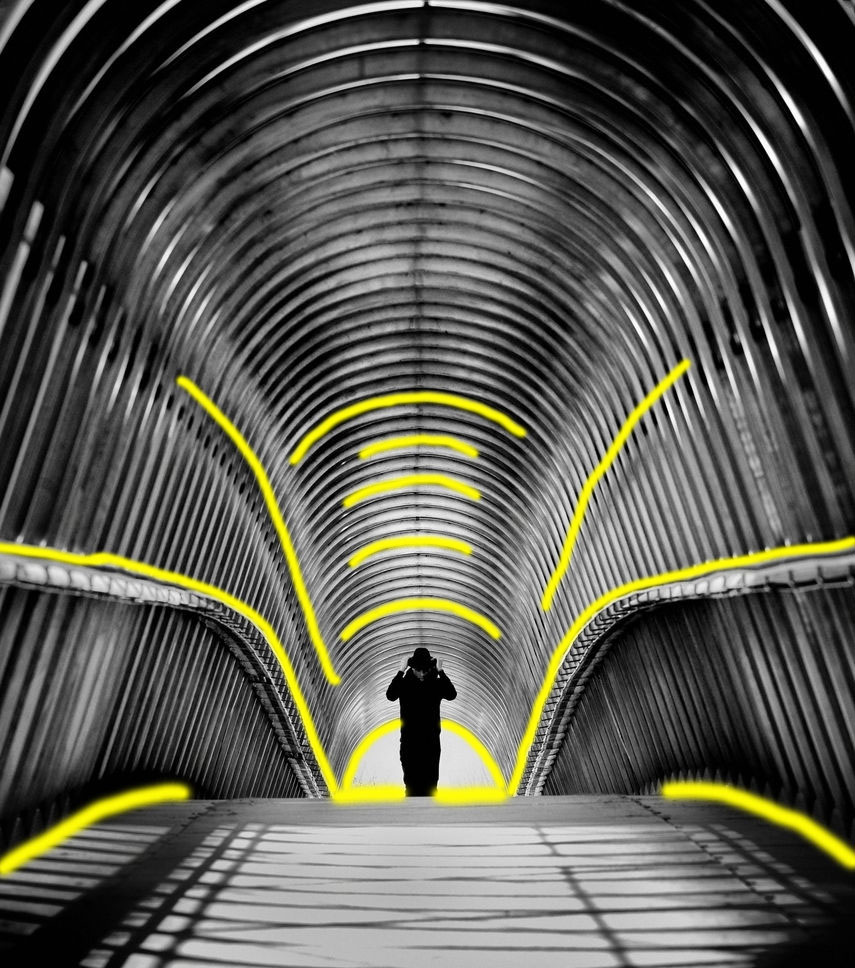
Now I’m not here to talk about previous relationships so lets get into some technique talk. Below is a photo that I really like while it may not show off the 1-2-3 technique for posing woman is is a great example of 1-2-2. Every photo on this post also shows some amount of the rule of thirds.

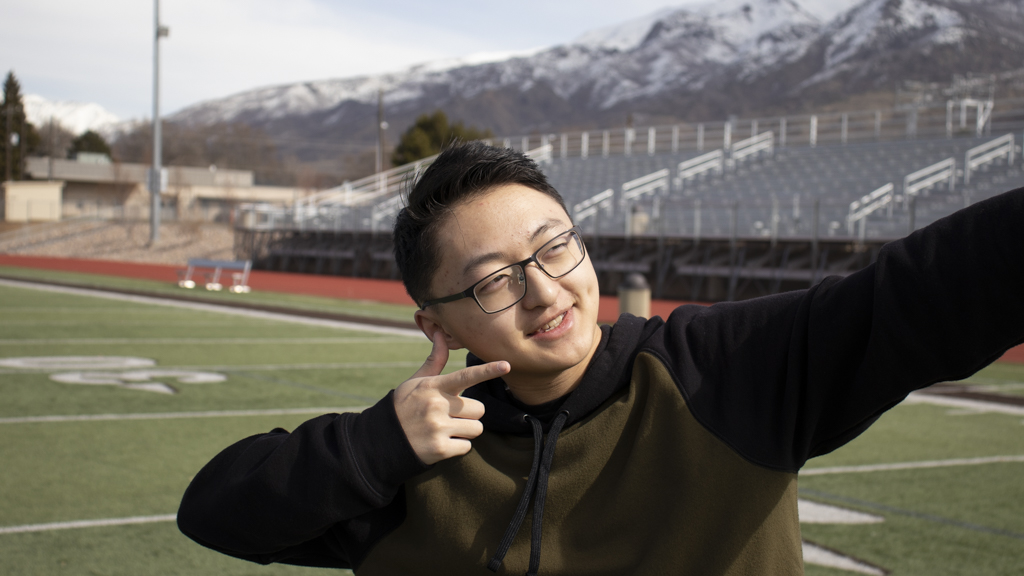
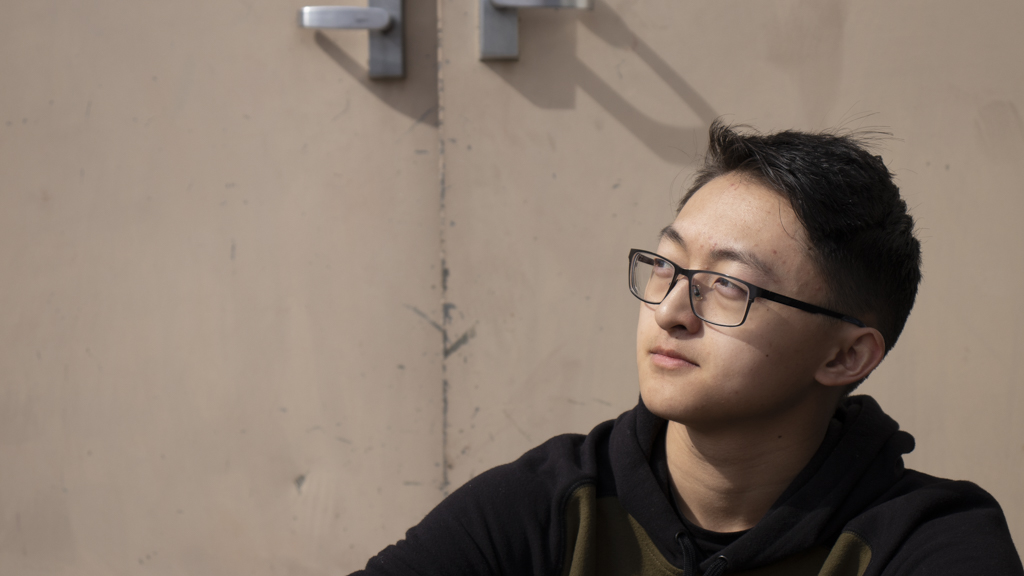
This is Sam, a very good friend of mine. Below is the original photo and above is the small edit, I fixed the horizon and some small blemishes on Sam’s face. While fixing the horizon i had to extend Sam’s jacket to keep the same aspect ratio of the original photo, the final out come is quite nice i believe.

Depth of Field

Another way that photos can be classified and identified is by their depth of field and whether it is shallow or deep. Usually shallow depth of field photos are more common and have a singular subject with a blurred background, though they can have a blurred foreground with the subject in the background.

Deep depth of field photos include everything in focus whether that be close, medium, or far. The photos above were taken in on Antelope Island, the photos of the bison I am particularly proud of. Oddly enough I don’t prefer one over the other, considering they both have their advantages and disadvantages. Deep depth of field photo’s can be great for large landscapes whereas shallow depth of field photos can emphasize a singular subject.

Put It Into Perspective

Imaged multiple times above is my 2004 Chevrolet Silverado 1500, a 5.3 L V8 Vortec engine, 2 inch lift, and a whole lot of spirit. This truck is legendary; it has 225,683 miles on it, and it runs like a charm. A beautiful metallic dark grey makes her shine like no other. Her name is Vera which translates to “faith” in Russian, it is also the name of an amazing song by Pink Floyd. No photo’s contain any editing.

Images above are my favorite images from my collage. I feel all of them represent Vera in a unique way. I hope she lasts a long long time

Reflectors and Techniques

Photography while an art, is full of advanced techniques that not all can or will use. It is also full of equiptment that I hadn’t even heard of until recently. For this post reflectors are the main focus, reflectors come in different shapes, colors, and sizes. The most common being the few mentioned below.

Image 1
Image 2

The white reflector has one of the more minor effects on a model. Looking at the side of the models face in image 1, there is a very slight bit of brightness on the models face when looking at image 2 it is obvously darker when the reflector is removed.

Image 3
Image 4

The golden reflector is more for color than it is for light, it adds nice highlights and with the combination of background colors, this reflector can greatly enhance an attempted portrait when comparing image 3 to image 4 the change can easily be seen

Image 5
Image 6

Not all of these tools are meant to reflect light; some are meant to diffuse light. In image 5 the model looks almost underexposed, unfortunately it is, I didn’t expect the diffuser to make such a change so i quickly took the picture and didn’t notice that the picture was taken improperly. But it is an amazing example of what a diffuser can do. This tool has the largest effect on a model.

Image 7
Image 8

The silver reflector is the brightest of the group, even with a very small amount of light, the amount of light reflected seems almost like magic. The silver reflector is very similar to the white reflector, but it can be used to destroy shadows rather than dampen them.

Image 9
Image 10

Another tool in this set is a Black Absorb-er, it is the oppisote of a reflector, rather than utilized light as a tool, it uses the absence of light instead. In Image 9 on the right side of the models face, it is relatively dark but when looking at image 10 the light off the wall is relfected onto the models face, The black absorber hides this relfected light.

Motion Frozen and Blurred

Another factor to keep in mind when taking photos, is motion. Most photos are frozen motion; a flying bird, an insect, or a sprinting cheetah. We think of pictures as a frozen moment in time, which is true but, how the subject in motion is displayed in that moment is an important thing to think about.

1/2000 sec, f/3.5, 12.8mm, ISO 100

In the photo above I used a very fast shutter speed, I captured the water at the peak of its height, making this a great frozen motion photo. The two photos below are of my classmates jumping in the air and just at the perfect time the image was taken, freezing them in the air.

1/800 sec, f/3.1, 7mm, ISO 100

While in my opinion frozen motion is relatively easy, I have a much harder time with blurred motion. To blur motion slower shutter speeds are needed, below is a photo where I failed to properly capture blurred motion.

2 sec, f/6.7, 5.3mm, ISO 1600

While the photo above might look cool, it was done wrong. My ISO was much too high and my aperture was slightly smaller than it should’ve been. Motion was blurred correctly but, there isn’t the crispness in the photo that I wanted. So I tried a few different ways to capture the photo. They are below.

8 sec, f/2.9, 4.5mm, ISO 100

I realized that i needed to focus on what motion I was actually trying to blur which was, light. So I went inside where the light would brighten its surroundings, had my friend hold the light source and make few patterns and shapes. The Lightsaber heart is by far my favorite but, I also tried a flashlight which I think turned out nice as well. All photos were taken with a slow shutter speed and a low ISO since the Lightsaber was so bright inside.

6 sec, f/2.9, 4.5mm, ISO 100

6 sec, f/3.1, 6.5mm, ISO 100

8 sec, f/2.9, 4.5mm, ISO 100

Light isn’t the only motion that can be blurred of course, anything moving can be blurred motion. The next two pictures are some that I got while trying to capture a car in motion. In order to keep the cars crisp I had to follow them and use a quicker shutter speed than needed for light.

1/125 sec, f/8.9, 49.6mm, ISO 100

This is an okay example of a motion blur photo, the truck is crisp while the background is slightly blurred. The background even shows the way the camera was moved when taking the picture.

1/80 sec, f/3.9, 27mm, ISO 100

This photo is an amazing example of motion blur. The car is completely crisp while the background and even the road is blurred. Looking in the car you can even see the woman’s face, clear as day.

Basics of Photography

The rule of thirds is one of the most basic rules of photography; it applies to portraits, landscapes, and any photo in between. The photo above is a perfect example of this rule; the tree is perfectly split down the middle by one of the lines, while the horizon lines up perfectly with the bottom horizontal line. What also helps is that there are no other subjects that can take focus away from the tree, the focal point is the tree nothing else. The yellow is a visual representation of the rule of thirds; it shows what a photographer should see anytime they attempt to take a photo.

This photo was found on https://fujifilm-blog.com/2015/06/16/tutorial-rule-of-thirds/

Another crucial rule of aspect of photography are leading lines. These lines lead the viewer to a central focal point. Similar to the rule of thirds a a focal point is emphasized, though the rule of thirds doesn’t need to be followed, when dealing with leading lines. Leading lines also emphasize patterns and repetition as seen in the photo above; the photo has one central focus point but, also dozens of leading lines horizontal, vertical, and curved.

This photo was taken by French photographer “Jose antoine Costa“. He can be found here https://gurushots.com/joseantoine.costa/photos

Depth of field is a concept that most everyone is aware of; make a picture blurry in the back ground giving the foreground extra attention. Many photos on Instagram, Facebook, or even Pintrest use this to their advantage. Most would know this as simply the focus of their photo but, what they don’t realize is they are really using the concept of depth of field. In a Digital SLR Camera the aperture is what controls the depth of field and the focus of the photo. The photo above shows a very nice depth of field photo and the water droplet is emphasized because it is in the foreground; the yellow highlights show what is entirely in the foreground, what is is focus, making this another great example.

This photo was found on https://photographycourse.net/physics-of-depth-of-field/

Pictures of The Past

I have tried my hand at portraits; even pictures with human presence, while it isn’t my best work i am proud of a small few. When I do portraits, I love to look for fun and unique ideas but, unfortunately I need better location knowledge to get truly good portraits. Though what determines a good portrait is up to interpretation, I like to believe that with an amazing landscape, and the right angle portraits can be some of the best photos ever taken. Portraits can be the perfect combination of human interaction with natural backgrounds, almost as if it was meant to be. Portraits don’t always have to be about the landscape of course, most are meant to show off an individuals features; so showing off those features in various ways also help to make a portrait special.